
Building a custom control in VB.NET is very easy. A custom control looks similar to a form but without the window surrounds.
Getting started
Building a custom control is very similar to building a form. Objects are dragged onto the control and then given events and event handlers.
To add a custom control click on the Project menu and click Add User Control.
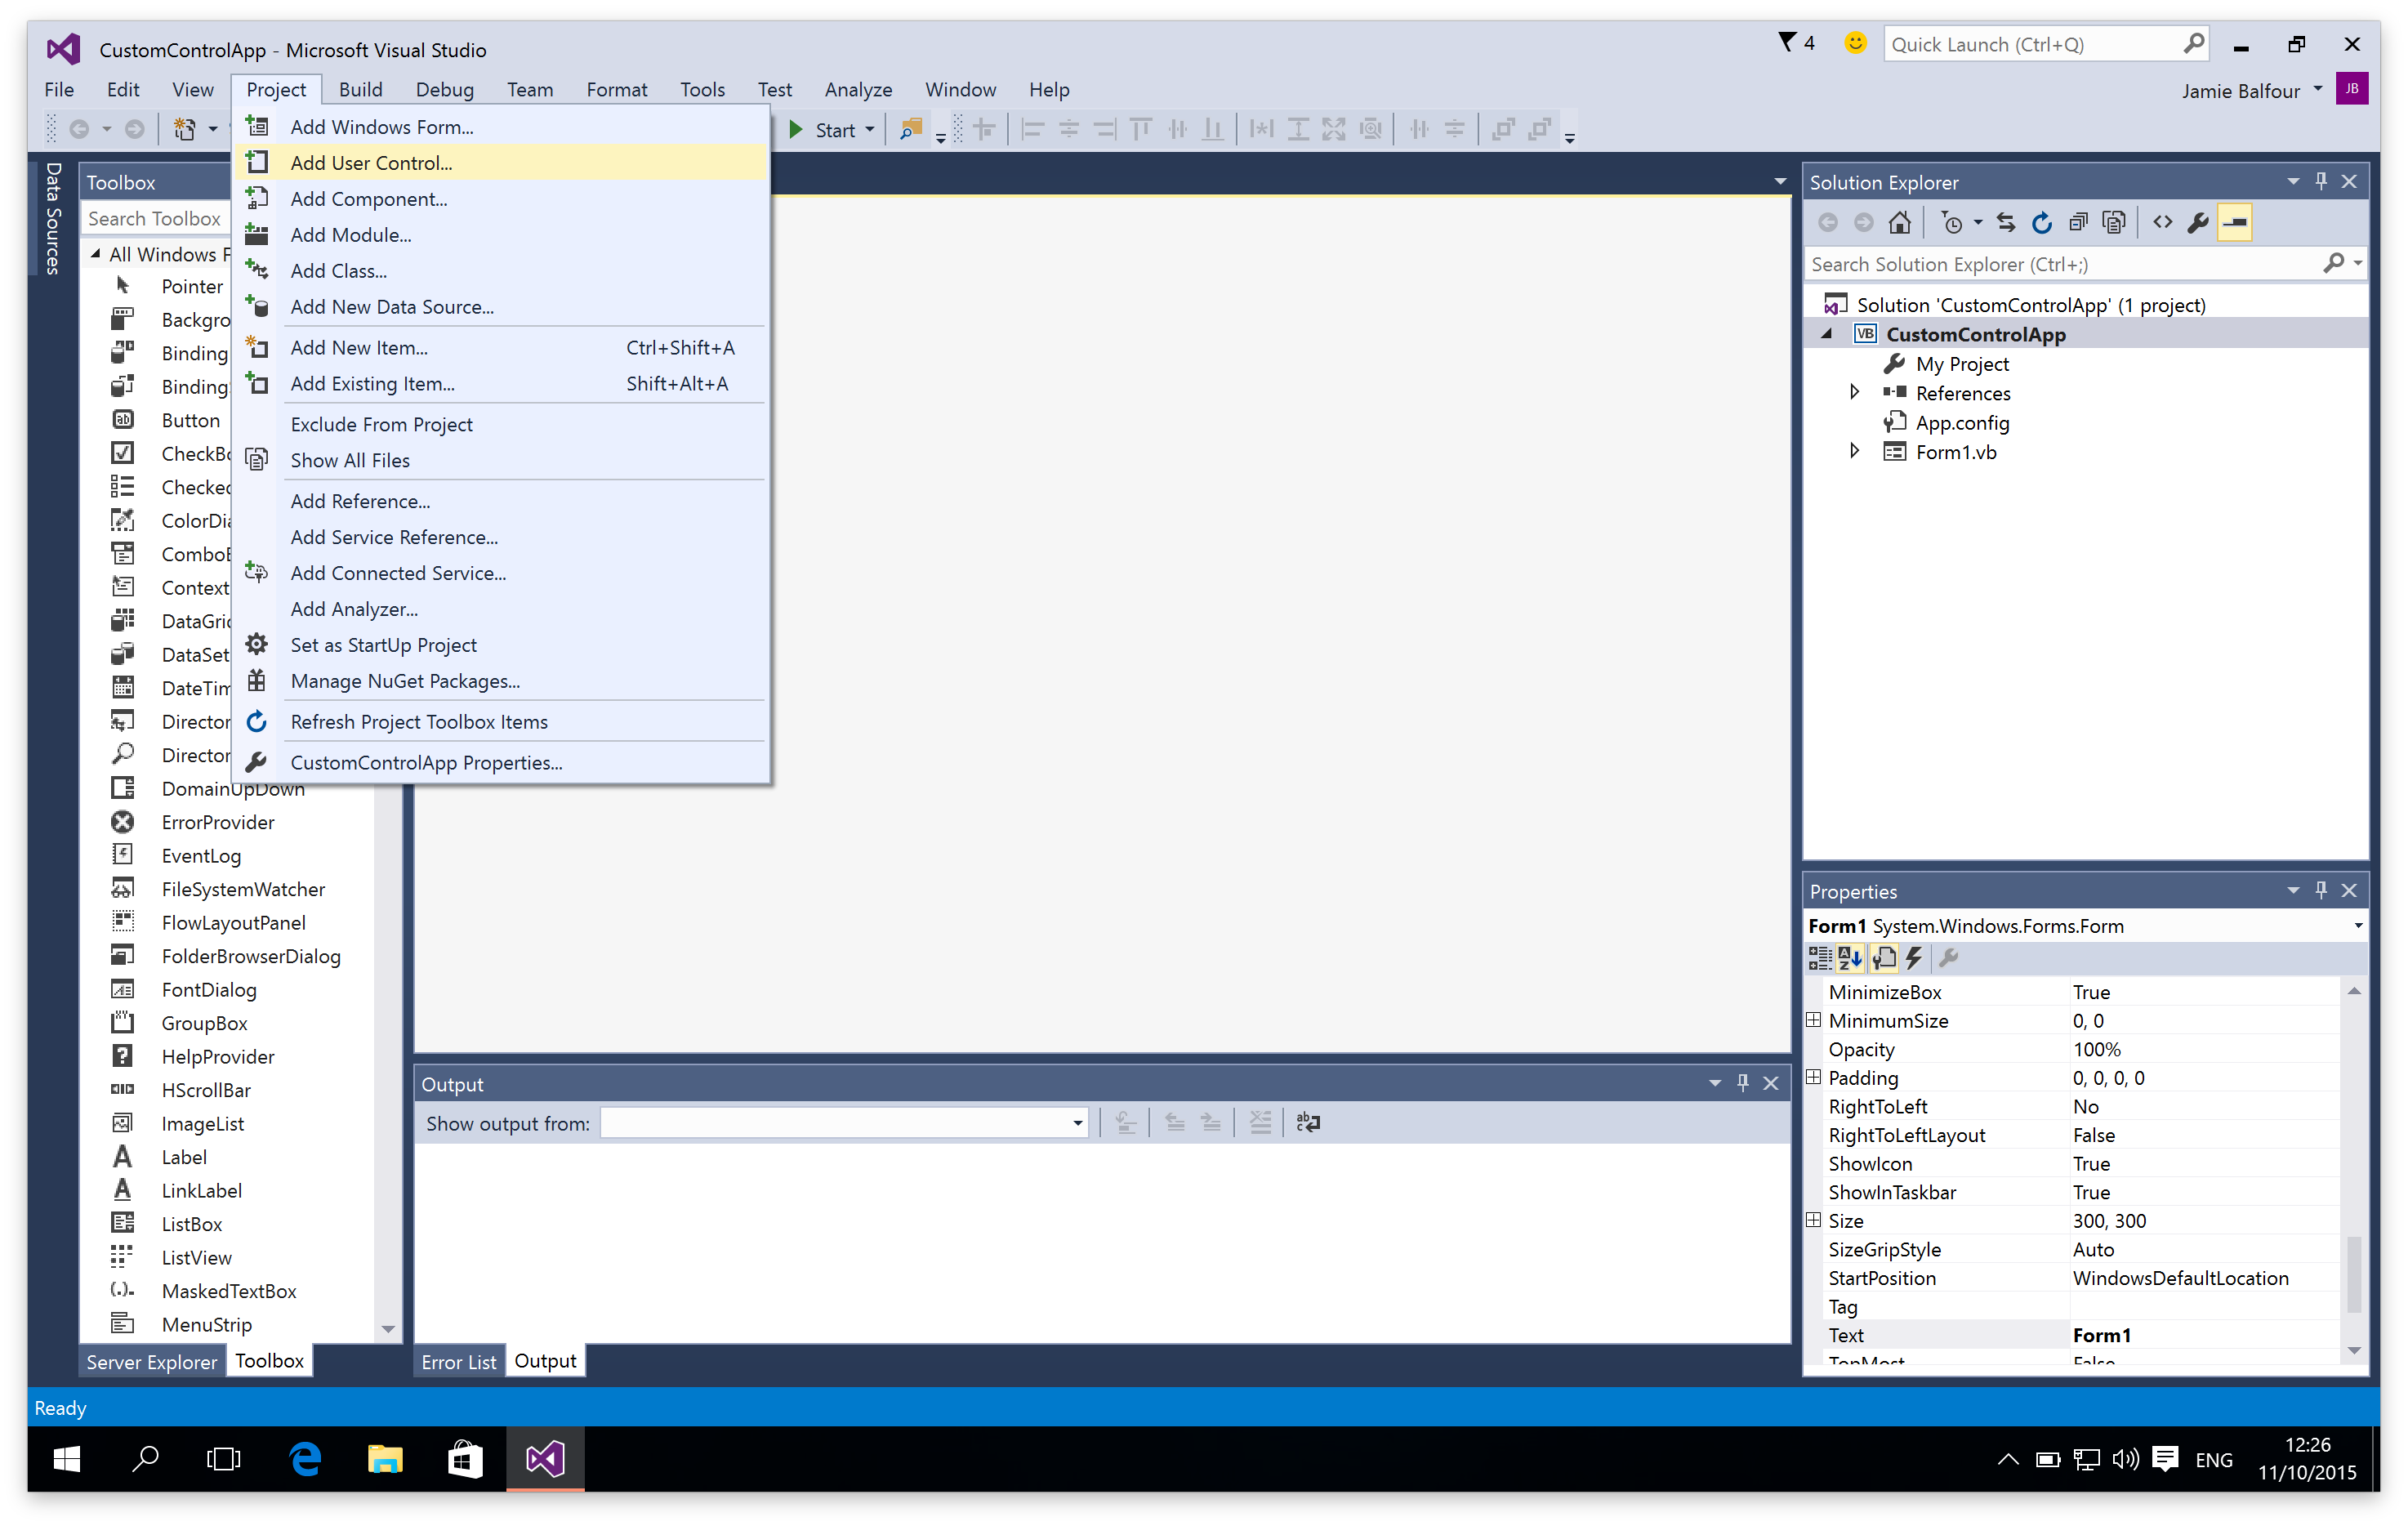
Select the Project menu and click Add User Control.
Now the control should be given a name:
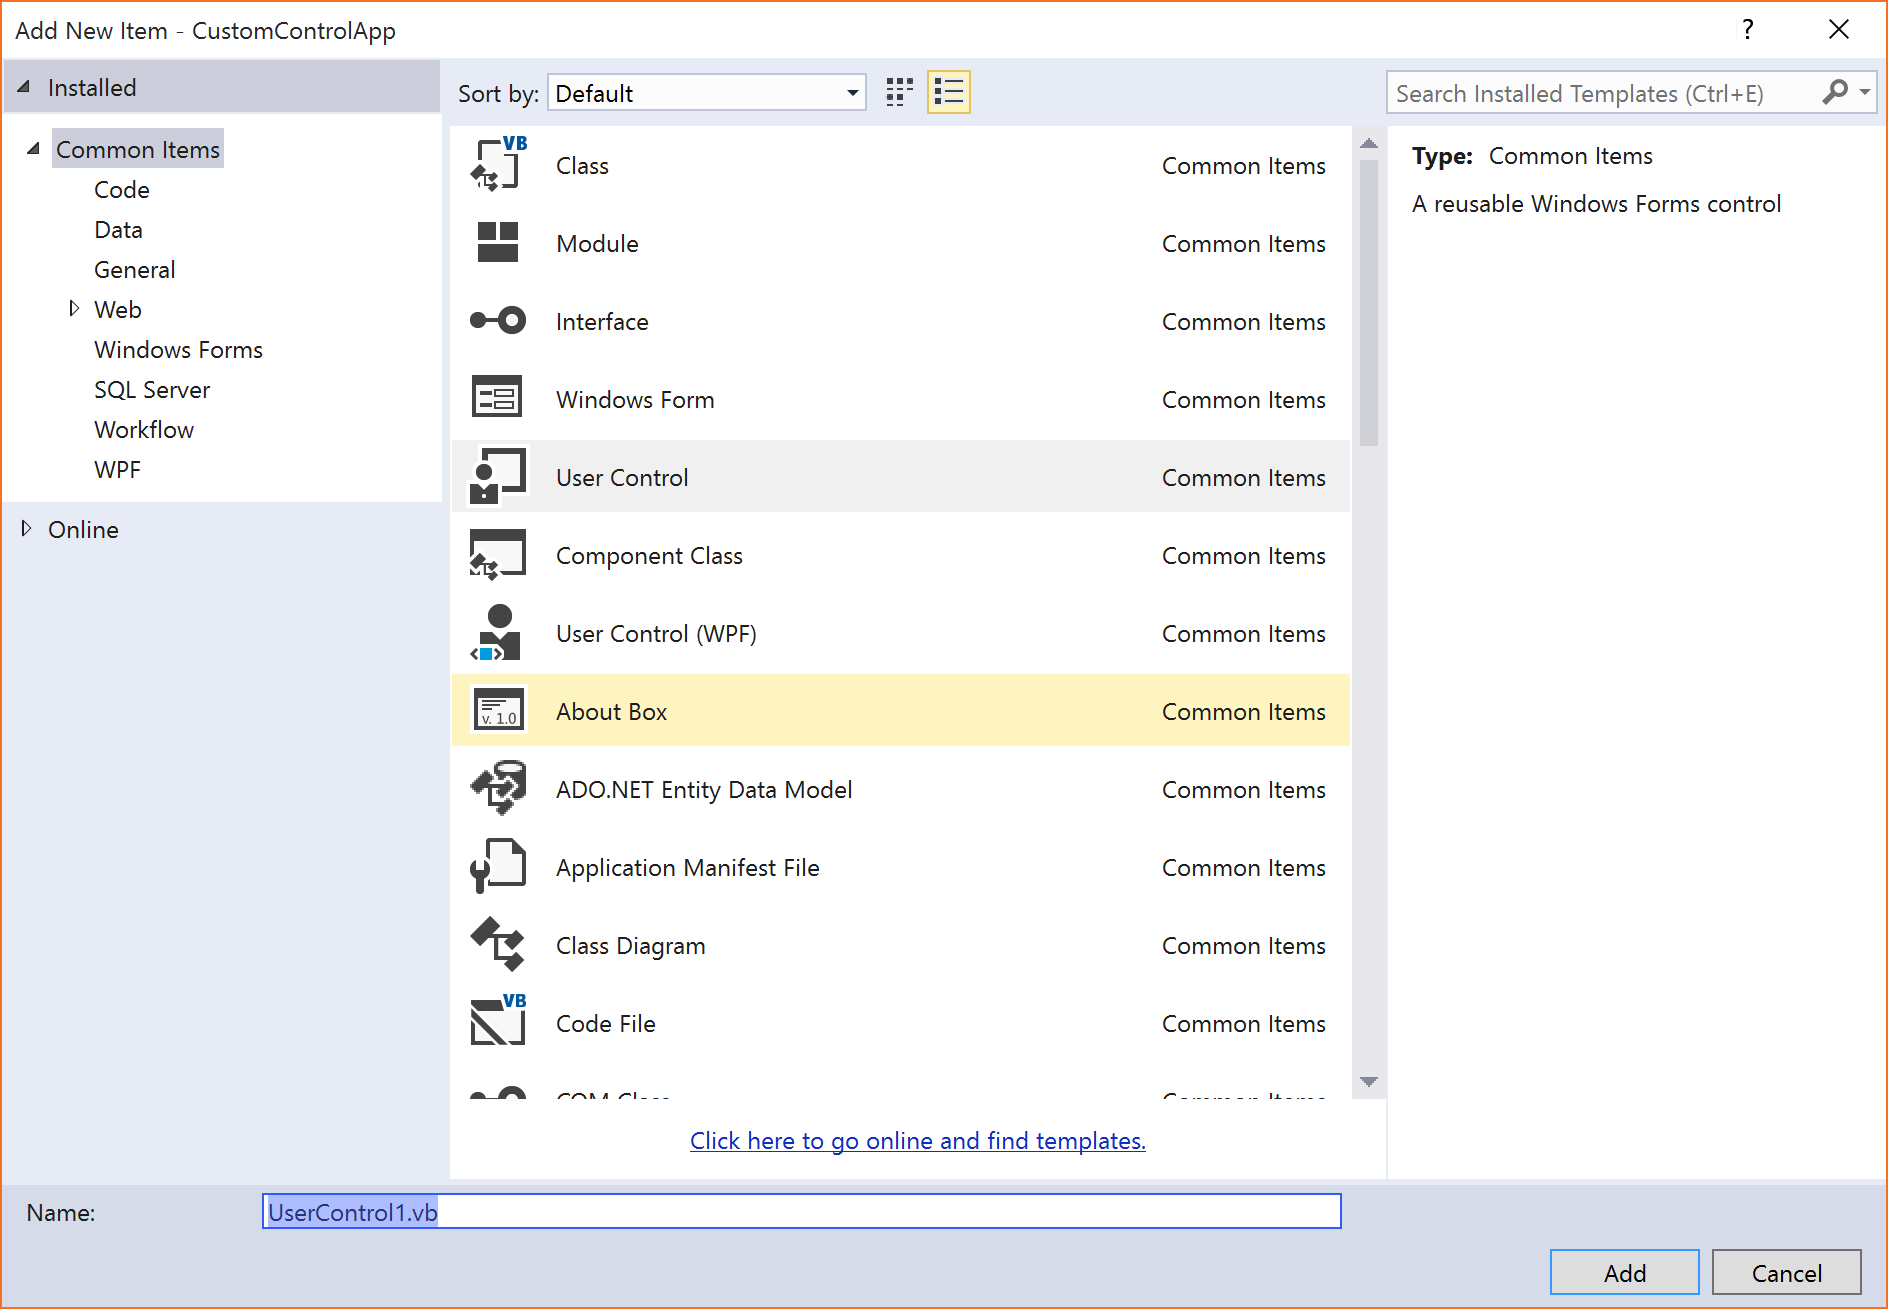
Give the user control a name
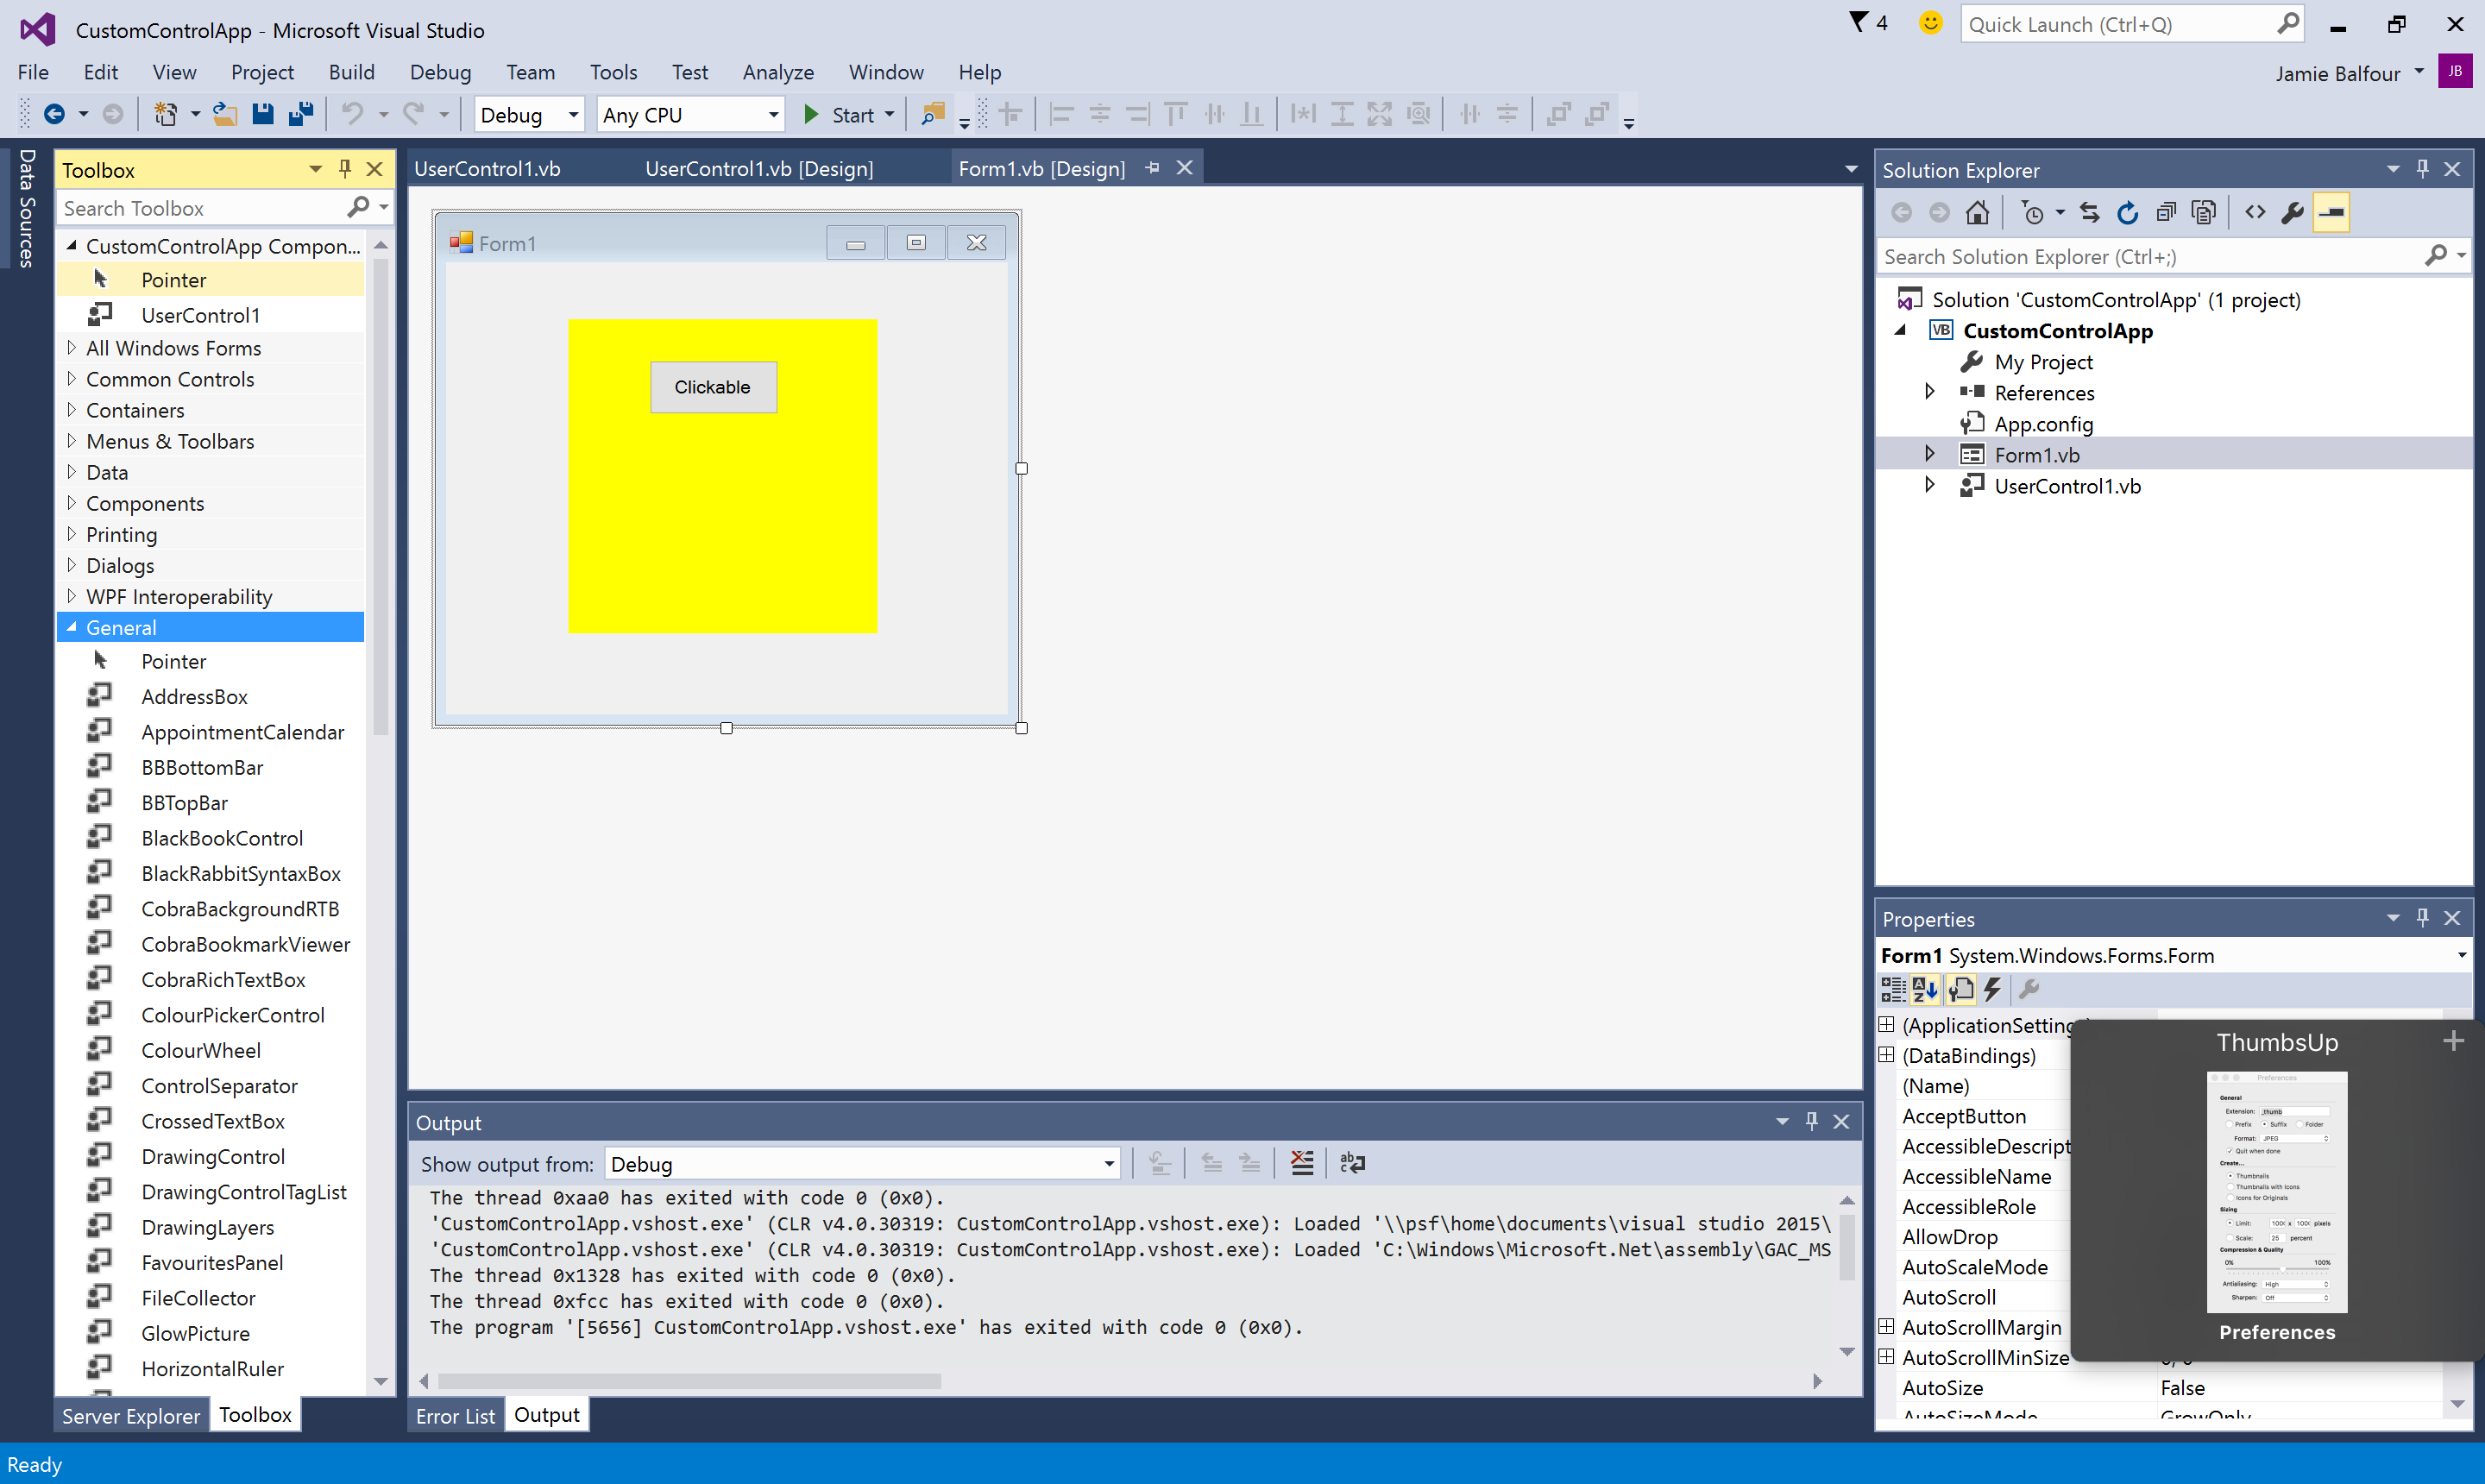
Once all of the above steps have been completed, the Visual Studio IDE should look somewhat like the following image:
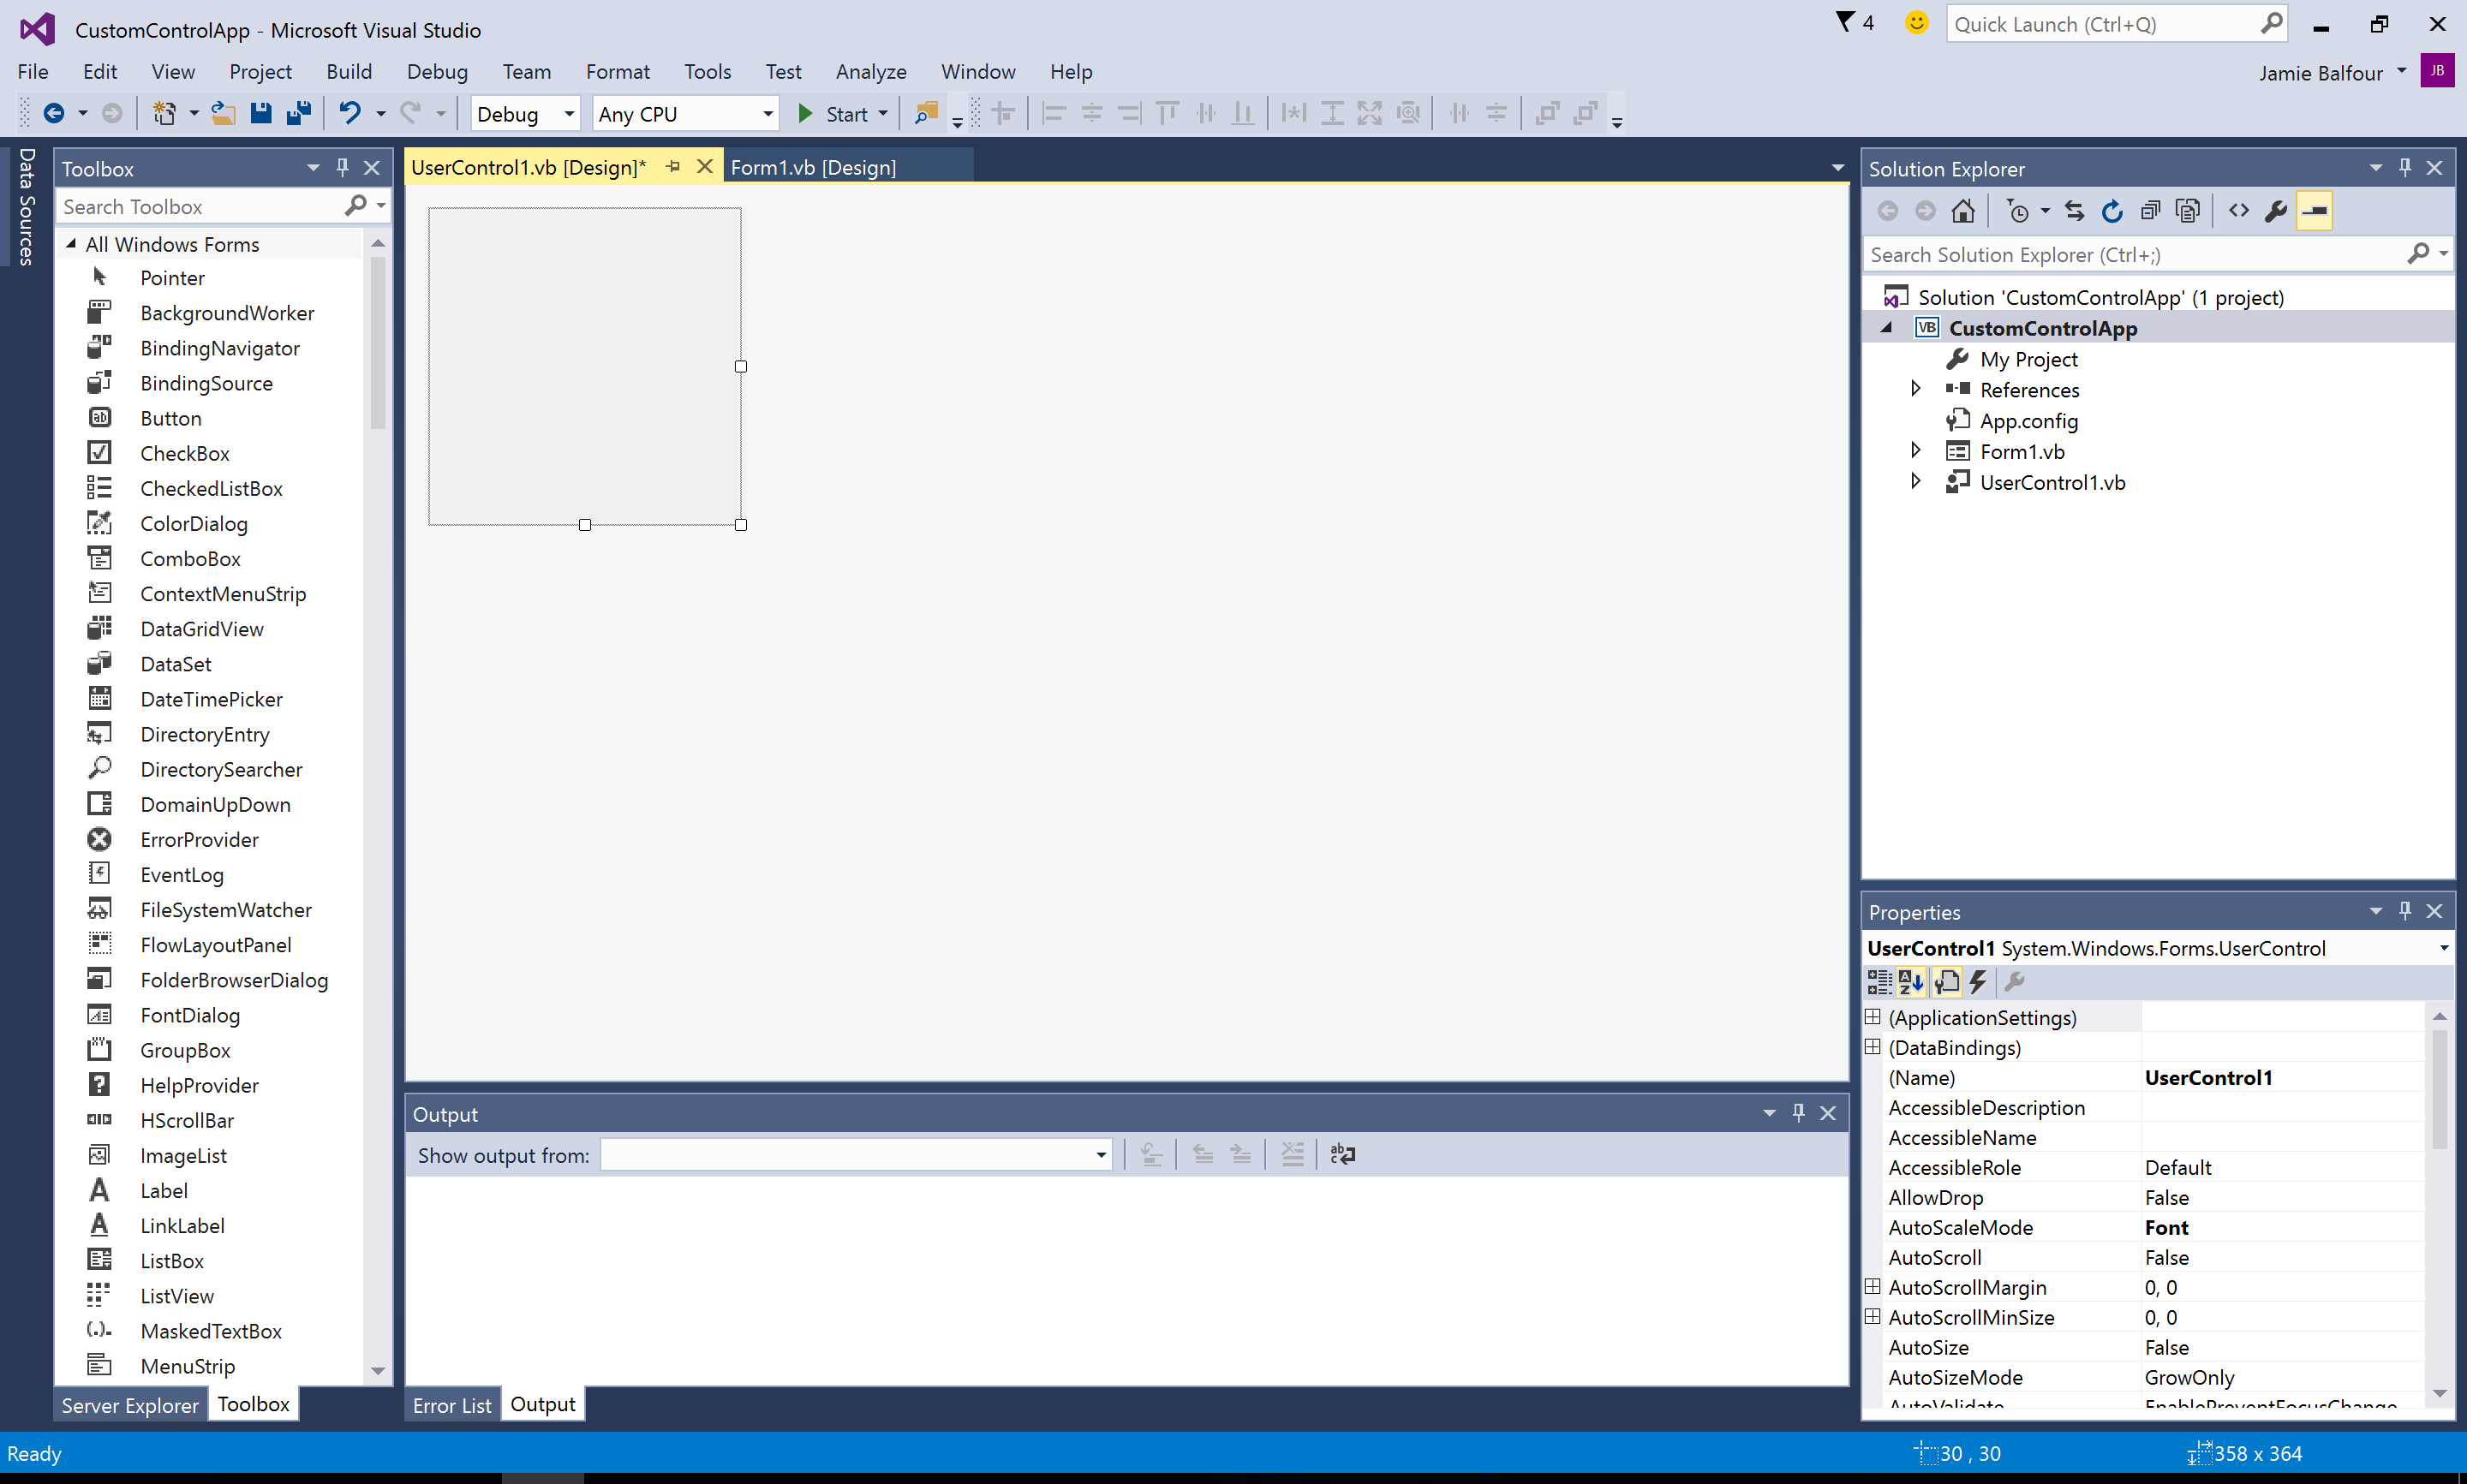
Visual Studio after adding a user control
Building a user control
User controls can be built the same way as forms. Properties may be modified, controls may be added and event handlers can be added.
Adding custom events
Adding custom events can be useful to trigger a response when something happens. It is very simple to do this in VB.NET and the event only needs defined and then raised:
Public Event CustomEvent1()
Public Event CustomEvent2(text_data As String)
Events should be declared globally.
The events can then be raised using the RaiseEvent keyword:
Private Sub CloseButton_KeyUp(ByVal sender As Object, ByVal e As System.Windows.Forms.KeyEventArgs) Handles Me.KeyUp
	RaiseEvent CustomEvent1()
	RaiseEvent CustomEvent2("Hello")
End Sub
Using a custom control
Once a control is ready to be used it can be added a form. The benefit of using a custom control here is that it can be used over and over again. Class libraries exist full of custom user controls that make use of this property:
The following image show a finished user control:
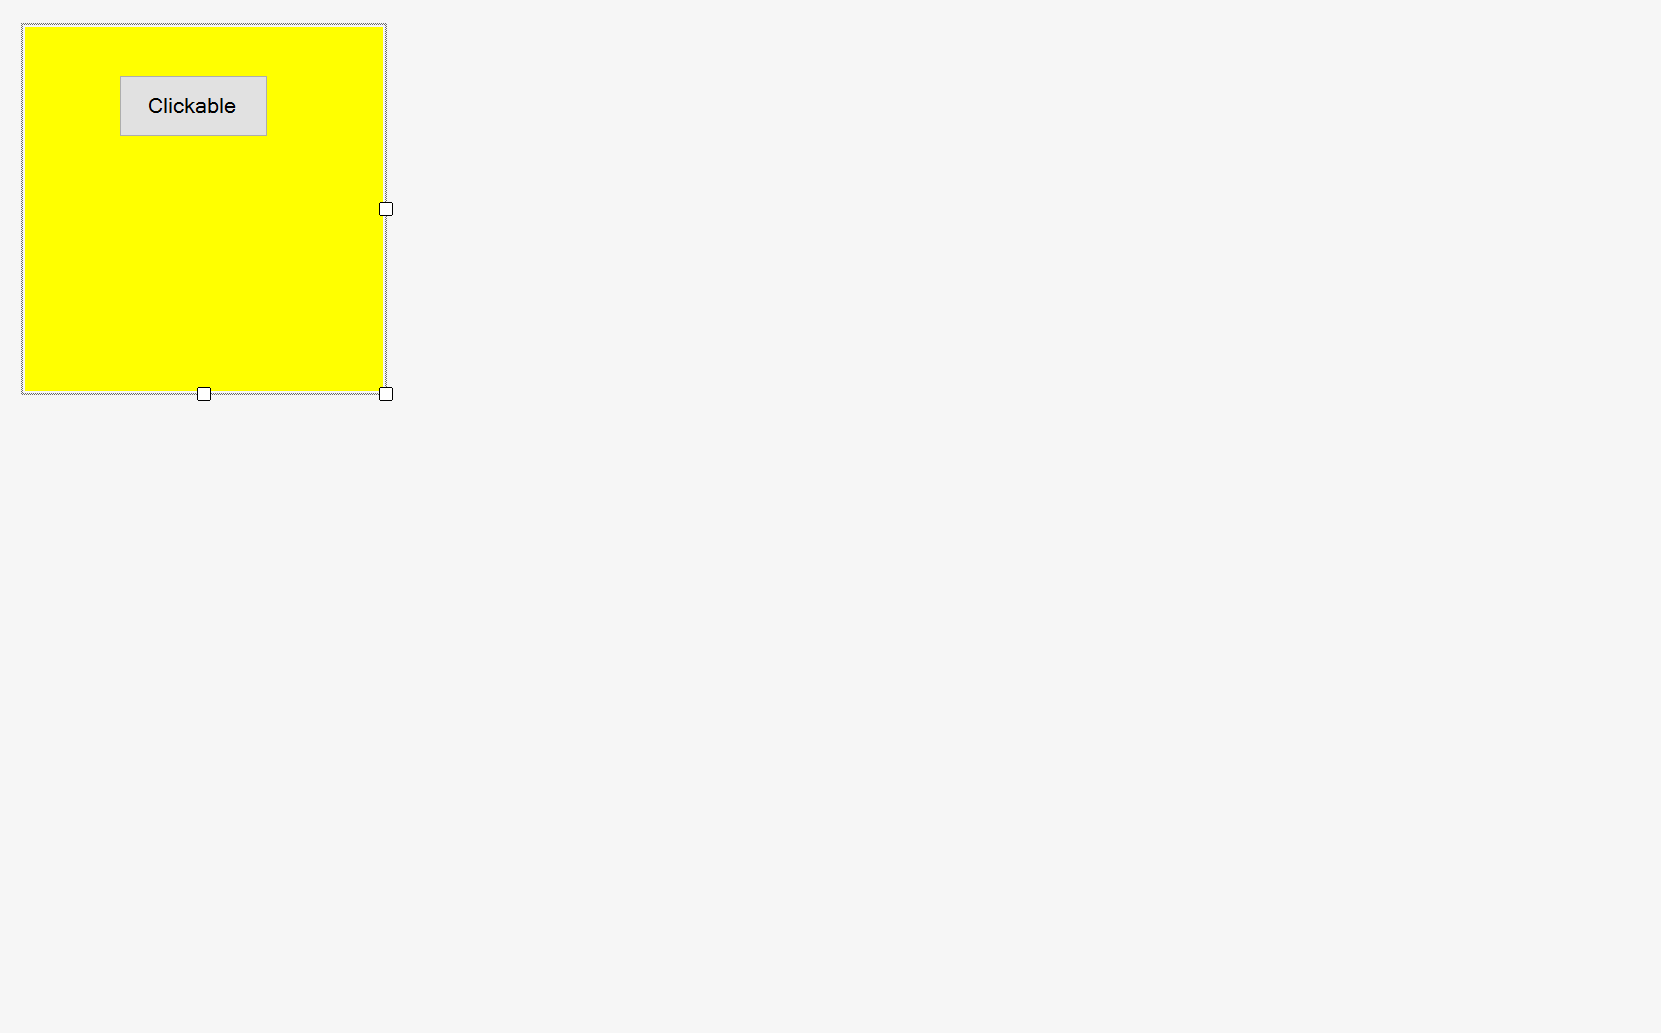
A sample user control
Once the user control is ready, simply go to the Build menu and click Build Solution. The new control should appear in the Toolbox on the left when the form designer is open:
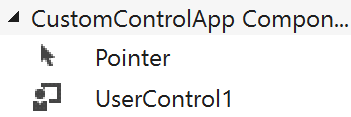
The Toolbox after adding a user control and building the solution
The final step is to add the new user control to the form. This done by simply dragging the control on to the form as with any other control:
The new form with the custom control
Building a tab-based interface with a user control
Building a tab-based interface is very easy with VB.NET.
To get started, a user control is required with some items on it. Then a Form with a TabControl
item on it is required.
Adding an item to the tab container requires adding a new copy of the user control to the tab container. The following sample shows how this works:
Public Sub NewTabPage()
	Dim tp As New TabPage
	tp.Controls.Add(New UserControl1)
	TabControl1.TabPages.Add(tp)
End Sub