VB.NET coupled with the Visual Studio IDE makes it easy to build graphical user interfaces (GUIs) with a simple drag and drop system. This was mentioned earlier in the tutorial in a bit of detail, covering a few of the controls that are available in the Toolbox of Visual Studio. This article of the tutorial will cover the very basics of building a GUI using the Visual Studio IDE.
Introduction
A window is almost exactly the same as a Form in VB.NET. As a matter of fact, WindowsForms is an API (application programming interface) that does the work of creating windows and is so called because it interfaces with the Windows operating system underneath. The term Form is used to describe the style that WindowsForm, i.e. the .NET window builder, uses to build these windows.
A Form is derived from Control which in turn is derived from Object, the base class of all .NET Framework classes.
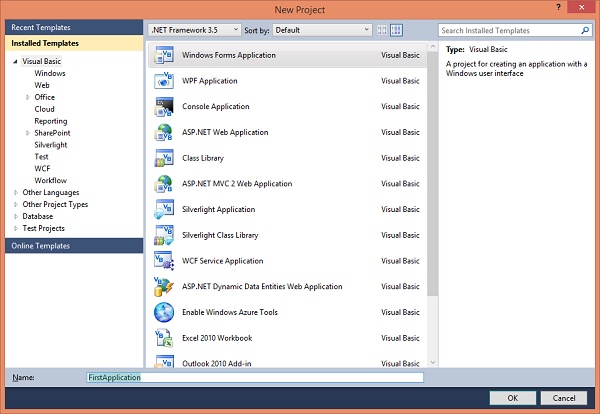
The following steps show how to create a GUI in VB.NET.
Creating a WindowsForms user interface without the GUI builder
The moderately old fashioned way of building a user interface that the end user can interact with is by using code. The majority of .NET languages in Visual Studio will create the interface code behind the scenes automatically when a control is placed or whatever, but it is also important to know how to do this without the GUI editor because occasionally manual editing is needed, for instance to clear up unnessary code or to fix a problem in the code.
This article will cover this in much more detail as it will show how to interact with the GUI from code as it progresses.
Creating a WindowsForms user interface with the GUI builder
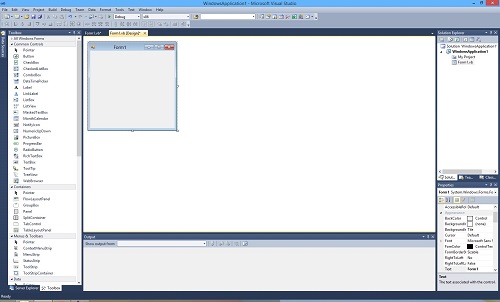
Once this has been selected the WindowsForms Designer will look like the next image.
As mentioned earlier in the tutorial, Visual Studio makes building an graphical user interface much easier. It provides a collection of tools for this including a toolbox full of controls.
It also implements a drag and drop system for creating the interface. This part of the tutorial will explain layout, controls and visual design.
Designing the Form
A Form is given Controls which include buttons, picture boxes,
labels, list boxes and more. They are used to provide a program
with a user interface that allows a much easier interaction than
just providing command lines. This article covers the very basics
of Button, ListBox, PictureBox, Label and LinkLabel controls.
Button
The
Button is the most simple form of user interaction
with the program. It is often used for debugging parts of programs during
development because of the easy setup but it's purpose
within final programs is also very important.
Buttons are generally used to perform an action.
Default Action
The default action for a
Button
is of course
Click
. The signature for this is shown below:
Private Sub Button_Click(ByVal sender As System.Object, ByVal e As System.EventArgs) Handles Button.Click
ListBox
The
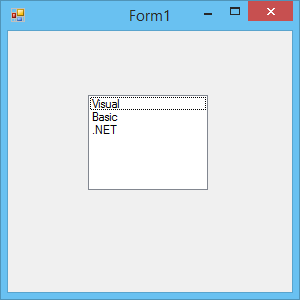
ListBox control is used to provide a list (or an array) of information in a
user friendly manner. It's uses are however slightly limited in user interfaces
because custom controls can offer much more than the
ListBox
can.
Default Action
The default action for the
ListBox
control occurs when the item in the list box that is selected changes.
Private Sub ListBox_SelectedIndexChanged(ByVal sender As System.Object, ByVal e As System.EventArgs) Handles ListBox.SelectedIndexChanged
PictureBox
The
PictureBox control is used to display an image without
any extra requirements (such as painting it on the form) other than just setting the
property.
Default action
PictureBox
controls also use the
Click
event as their default action.
Private Sub PictureBox_Click(ByVal sender As System.Object, ByVal e As System.EventArgs) Handles PictureBox.Click
Label
The
Label
control works similarly to the
PictureBox
control in
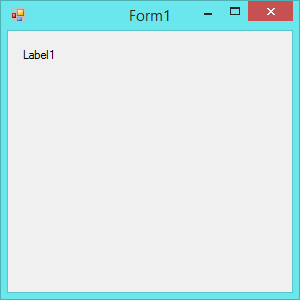
that it is used to represent information, in this case it represents textual information.
Default action
Like the
PictureBox
the default action for a
Label
control is the
Click
event.
Private Sub Label_Click(ByVal sender As System.Object, ByVal e As System.EventArgs) Handles Label.Click


